One of the reasons I love fall is because of the sumac growing wild all around the city. Every year when those cones turn deep crimson, we’re reminded just how much abundance lives quietly in our landscapes, parks, and backyards. Sumac tea is one of the simplest homegrown rituals you can try—no fancy tools, no special ingredients, just a little curiosity and a willingness to pause and notice. If you’ve never made it before, this is a beautiful place to start.
Sumac grows abundantly throughout much of North America, especially in sunny, disturbed edges—roadsides, meadows, woodland margins. It’s drought-tolerant, wildlife-supporting, and incredibly generous. And when the timing is right, its velvety cones become a source of vitamin-rich, lemony goodness you can forage right in your own community.
Today we’re walking you through a simple, step-by-step process to harvest and brew your own sumac tea—no special equipment, no complicated techniques, just you, the landscape, and a cup of bright, tangy nourishment.
Step 1: Identify Your Sumac (Safely)
Before harvesting anything wild, take a moment to observe.
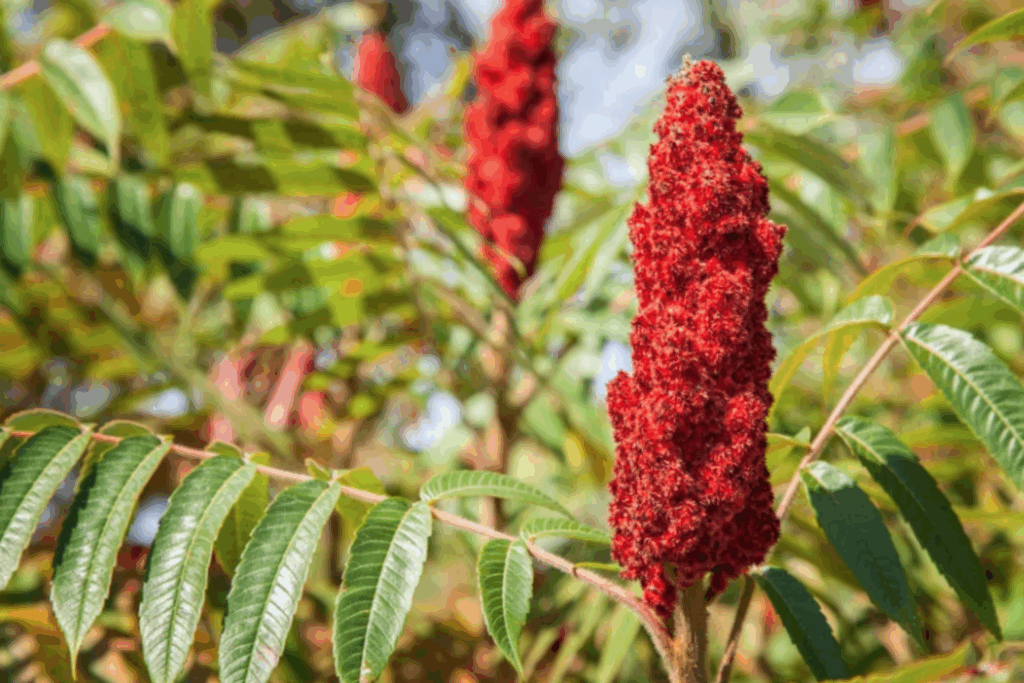
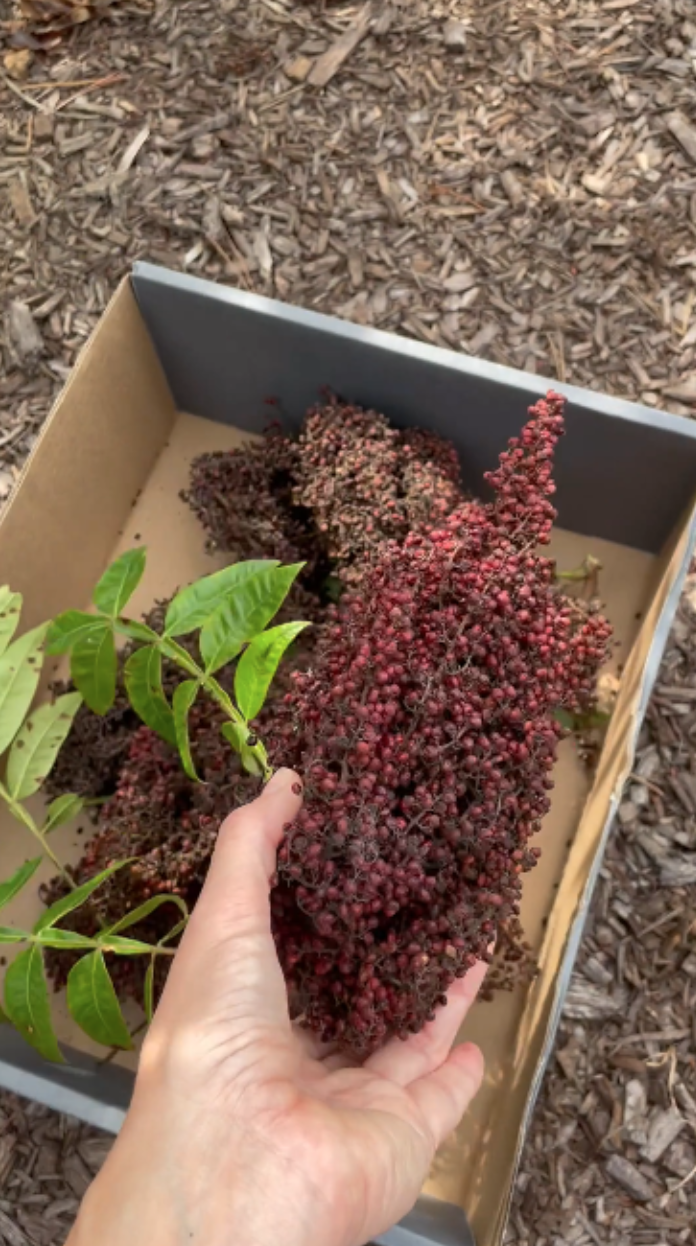
You’re looking for staghorn sumac (Rhus typhina) or smooth sumac (Rhus glabra). Both produce upright, cone-shaped clusters of deep red berries that ripen from summer into fall. Their leaves are feathered and lance-shaped, turning fiery orange and red in autumn.
Avoid poison sumac, which grows in wet, swampy areas and produces white berries that hang down, not upright.
A simple rule of thumb:
Red upright seed heads = culinary sumac.
White berries on drooping stems = not your friend.
Step 2: Harvest the Berry Cones
Choose dry, sunny days for harvesting—rain can wash away the tangy, citrusy flavor sumac is famous for. Look for cones that are:
- Deep red
- Dense and velvety
- Not browned or weathered
Use pruners to cut just below the cone. Thank the plant, leave plenty for the birds, and avoid overharvesting from a single stand.
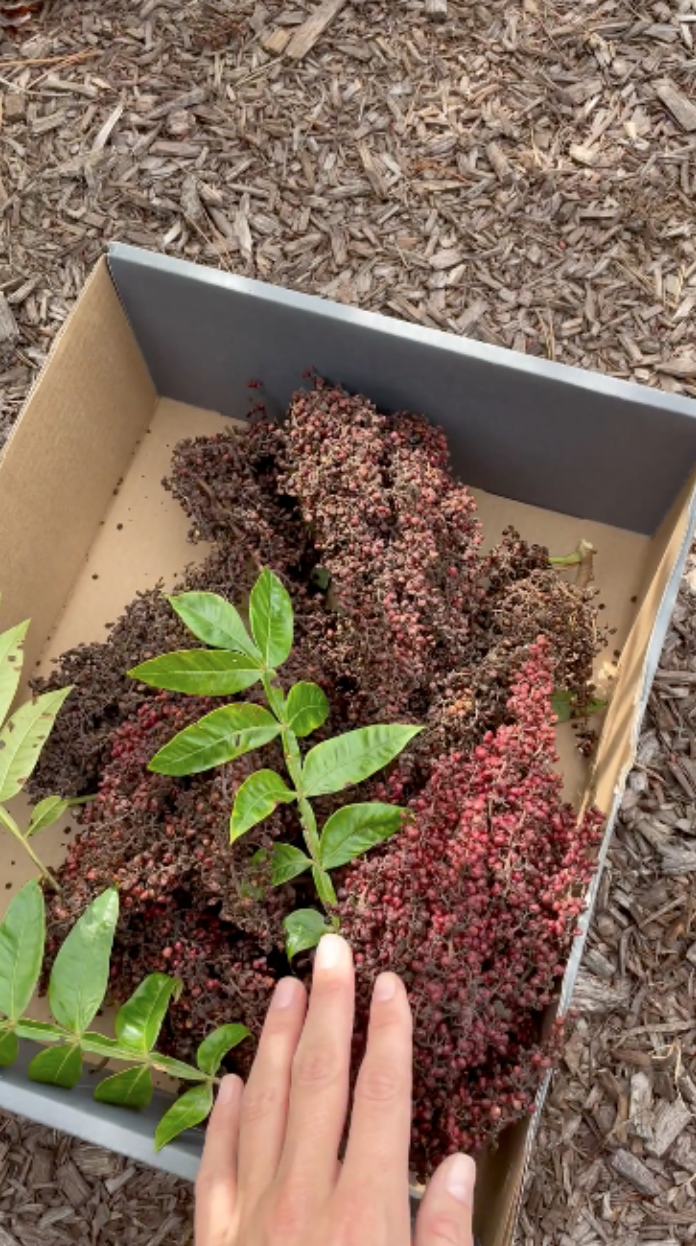
Step 3: Prepare the Cones
Once home, gently shake or brush the cones to remove dust, insects, or loose debris. No need to rinse—the flavor is water-soluble, and rinsing can dilute the citrusy punch. If you’d prefer to clean them more thoroughly, give a quick swish and let the cones fully dry before steeping.
Step 4: Steep for Flavor
Sumac tea is at its best when cold-steeped, which preserves its bright, lemony notes.
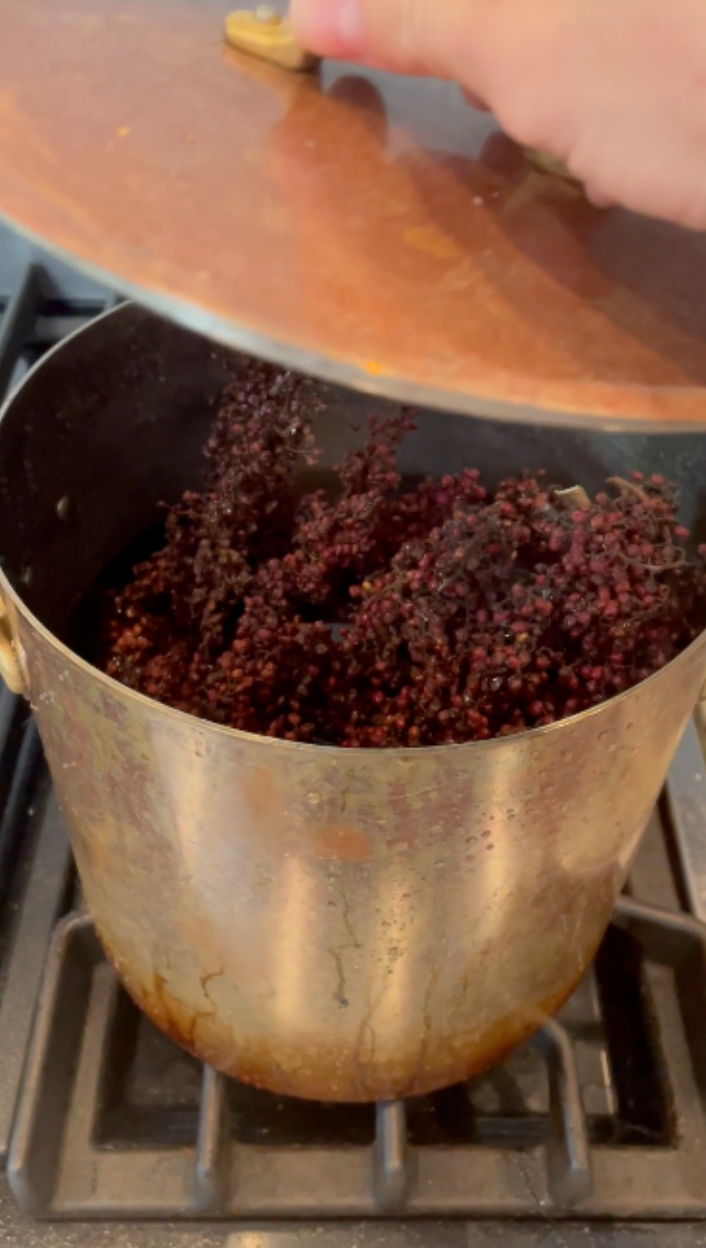
- Break the berry cones apart into smaller chunks.
- Place them in a pot.
- Cover with water and bring to a gentle boil.
- Immediately turn heat off. Let the mixture steep from 20 minutes to 2 hours, depending on how strong you like it.
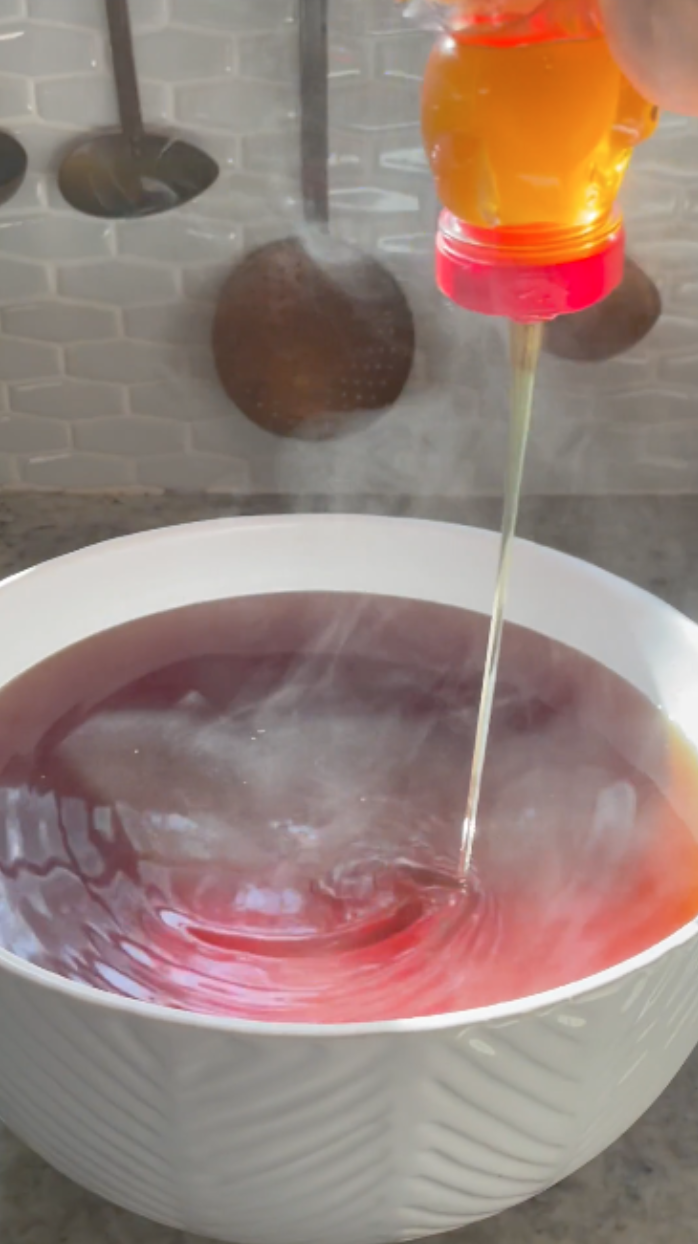
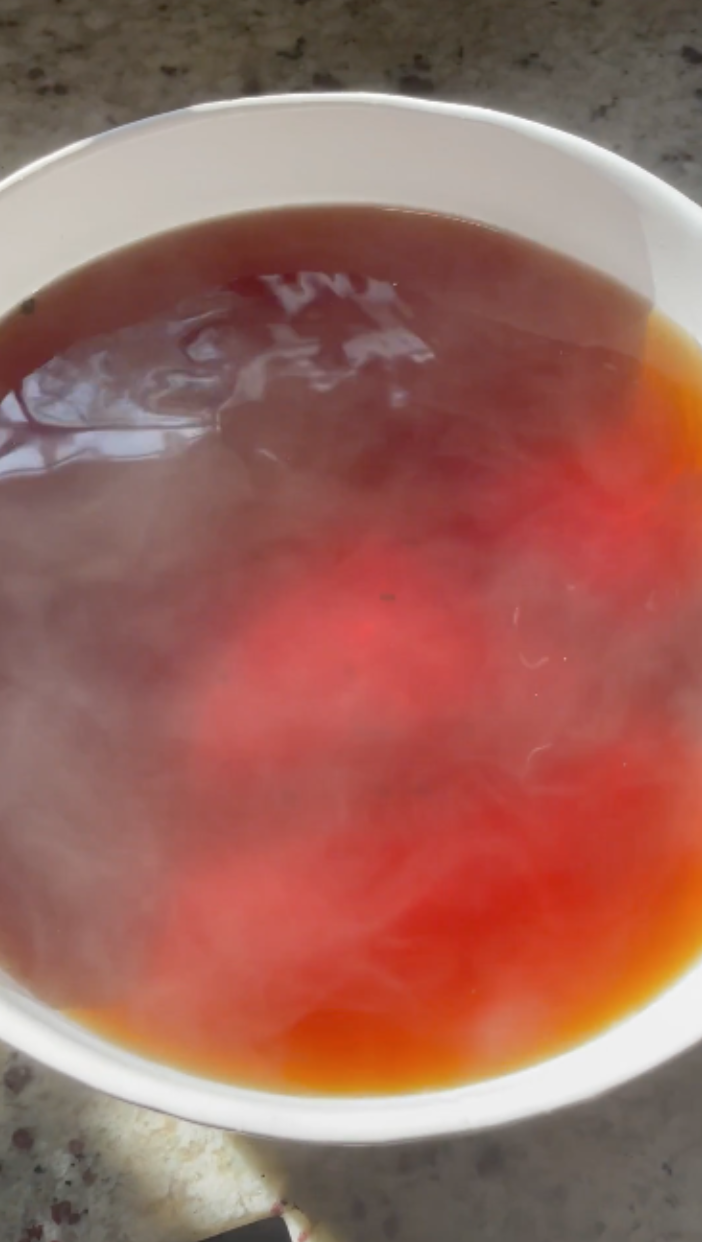
As it infuses, the water will blush a beautiful pink-red color—a little reminder that nature is always showing off.

Step 5: Strain and Sweeten (If You Want)
Pour the infused liquid through a fine strainer or cheesecloth to remove the fuzzy seeds. Taste the tea as-is first—it’s naturally tangy, refreshing, and slightly astringent.
From here, you can:
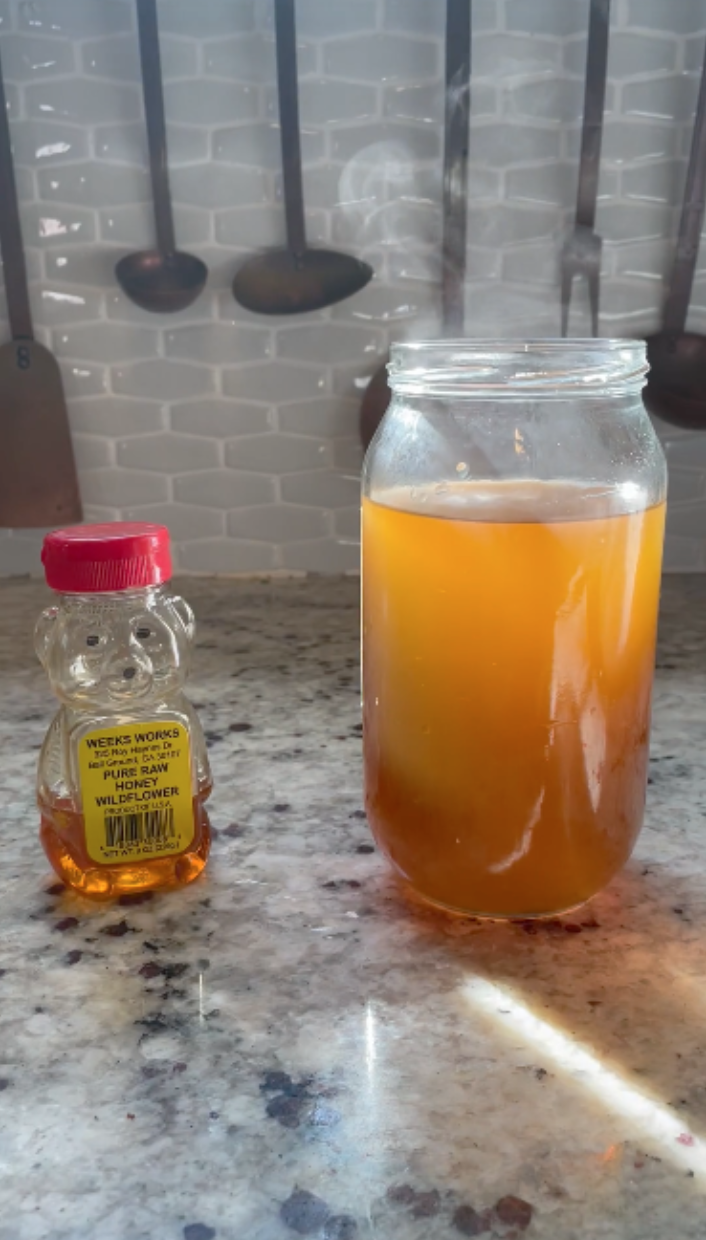
- Add a bit of honey or maple syrup
- Mix with sparkling water for a homemade “wild soda”
- Serve over ice for a backyard gathering
- Warm it gently in winter for a vitamin-C boost

Step 6: Compost and Close the Loop
Once strained, add the spent berries to your compost or tuck them directly into the garden as organic matter. Sumac gives generously, and that generosity continues as you return it to the soil.
A Small Practice of Connection
Making sumac tea isn’t just about the drink—it’s about slowing down, paying attention, and allowing the landscape to feed us in small, beautiful ways. This is what permaculture is all about. These little foraging rituals remind us that nourishment lives right outside our doors, wrapped in the rhythms of the seasons.
So next time you pass a stand of sumac glowing on the hillside, consider pausing. Bring a basket. Bring curiosity. Bring gratitude.
Your next cup of bright, wild tea might be waiting right there.
If you’re interested in exploring out how-to guides, check them out below: