


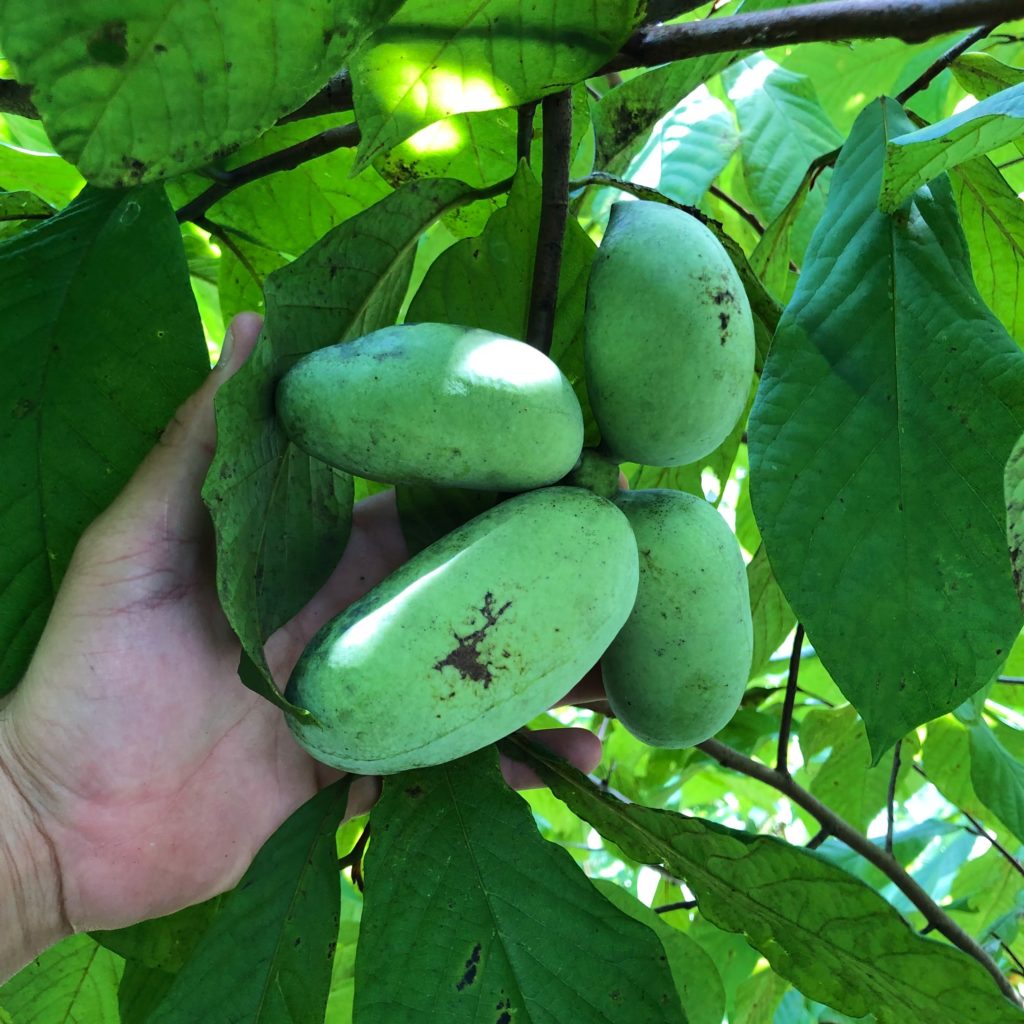
Pawpaws (Asimina triloba) are the largest edible fruit native to North America.
In this special contributor piece, Shades of Green staff member Whit Whitmire describes his experience growing pawpaw from seed.
Over the past decade in particular, more and more folks have become familiar with pawpaws (Asimina triloba)—undoubtedly due to their burgeoning popularity in food and beverage products. Although still fairly difficult to source to any scale, it’s not too uncommon to see photos of pawpaw pudding, pastries, beer, ice cream and more pop up on our Instagram feeds when they’re in season. In recent years, numerous articles from national publications have expanded our collective familiarity with the fruit, often invoking the air of mystery and romanticism that surrounds the species (and, a bit erroneously in my opinion, the notion that it was once widely popular and readily available but has since been ‘lost’…) to captivate audiences.
In the event you are indeed still unfamiliar with the pawpaw, it is the largest edible (osage orange, Maclura pomifera, has it beat in terms of average size) fruit native to North America. The way I generally describe it (not to be taken scientifically, as I am not a scientist) is as an evolved, cold-hardy vestige of a more tropical climate long, long ago. As a result of this evolution, we in the temperate climate have been blessed with an exciting tropical-looking and tasting tree and fruit. Pawpaws can be found and grown reliably in zones 5-9 in areas with a minimum of 30″ of annual rainfall, but with the right conditions, microclimates and tailored treatment, both growers and nature are successfully pushing these boundaries.
If you follow a few fundamental steps, growing pawpaw from seed is quite simple!
The flavor is commonly described as a mix between a banana and mango, although in my opinion that description doesn’t really do it justice as a pawpaw tastes like, well, a pawpaw! It has a unique flavor all its own, which can vary greatly in both wild populations and among cultivars. The taste is incredibly rich and creamy, and quite delicious if I do say so myself. They’re wonderful to eat plain from the fruit with a spoon, but some folks are turned off by the custardy (aka “mushy”) texture, in which case value-added products provide a fantastic way for texture-averse people to sample their flavor. In any event, it certainly doesn’t taste like something you’d expect to find outside of the tropics. And that makes them all the more fun to forage and grow!
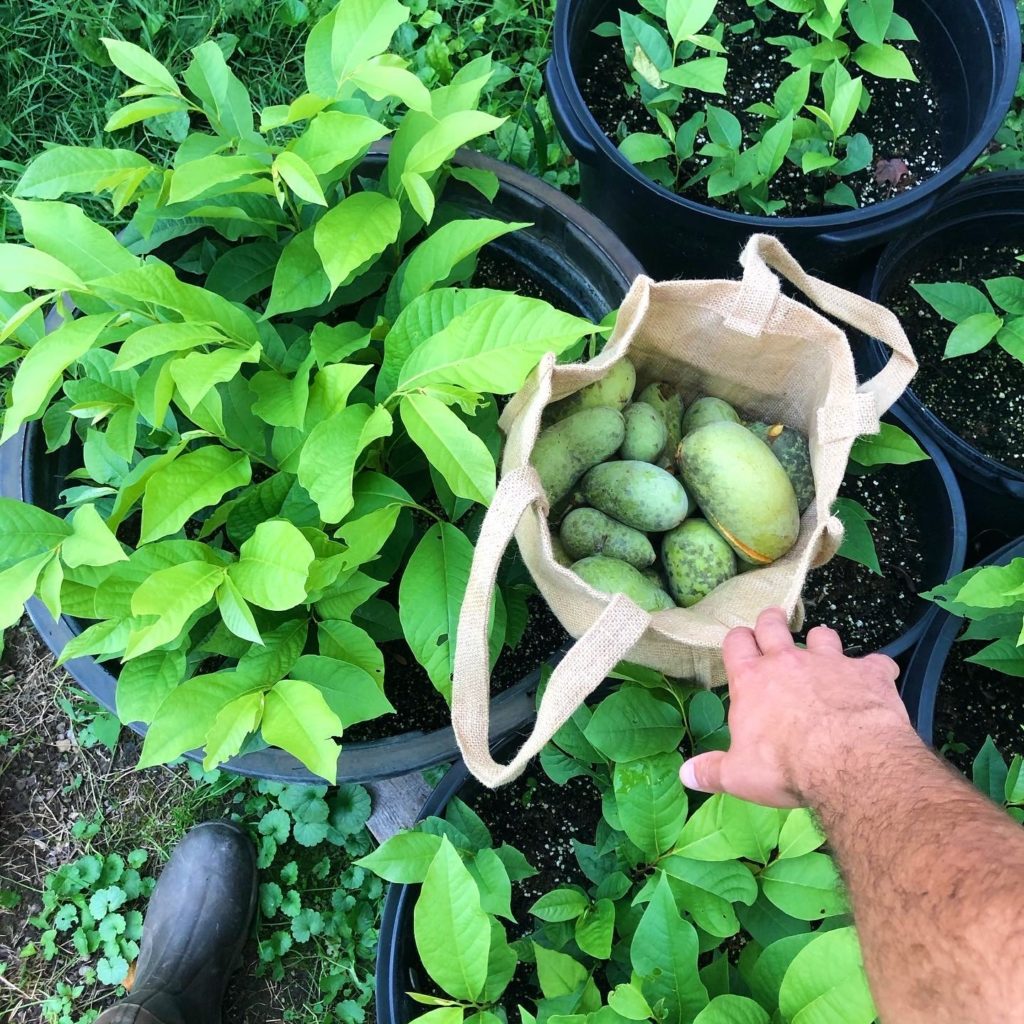
For the past 7 years, I have grown pawpaw from seed that I forage, trade with other enthusiasts or am gifted by forager friends and chefs.
I could continue on for an eternity about nuances of flavor and potential applications, but for the sake of keeping this article to a reasonable length I am going to focus on the culture of the tree itself—growing them from seed, specifically. And before I dive even deeper, I’d like to make the disclaimer that I am in no way shape or form an “expert.” This season marks my 7th year growing pawpaws from seed, and while that may sound like a lot of time, I learn something new about the process every year. And it’s important to note that I have been doing so as a hobbyist where I can, when I can, and with the limited resources and facilities at my disposal. So, I would place myself squarely in the “experienced amateur” category. And it is from the lens of a “backyard grower” that I write this piece.
These days, there is a lot of information out there on growing pawpaws, so I’m just going to share what I do and why. There are certainly “better” and more organized ways to do it, but when time and money and space are limited, and you don’t have access to a controlled environment, what I’ve written below will work just fine. Ultimately, however, aside from a few must-do’s, it’s all about finding what works best for you with the resources that you have. Here are some of the key points to ensuring success growing pawpaws from seed:
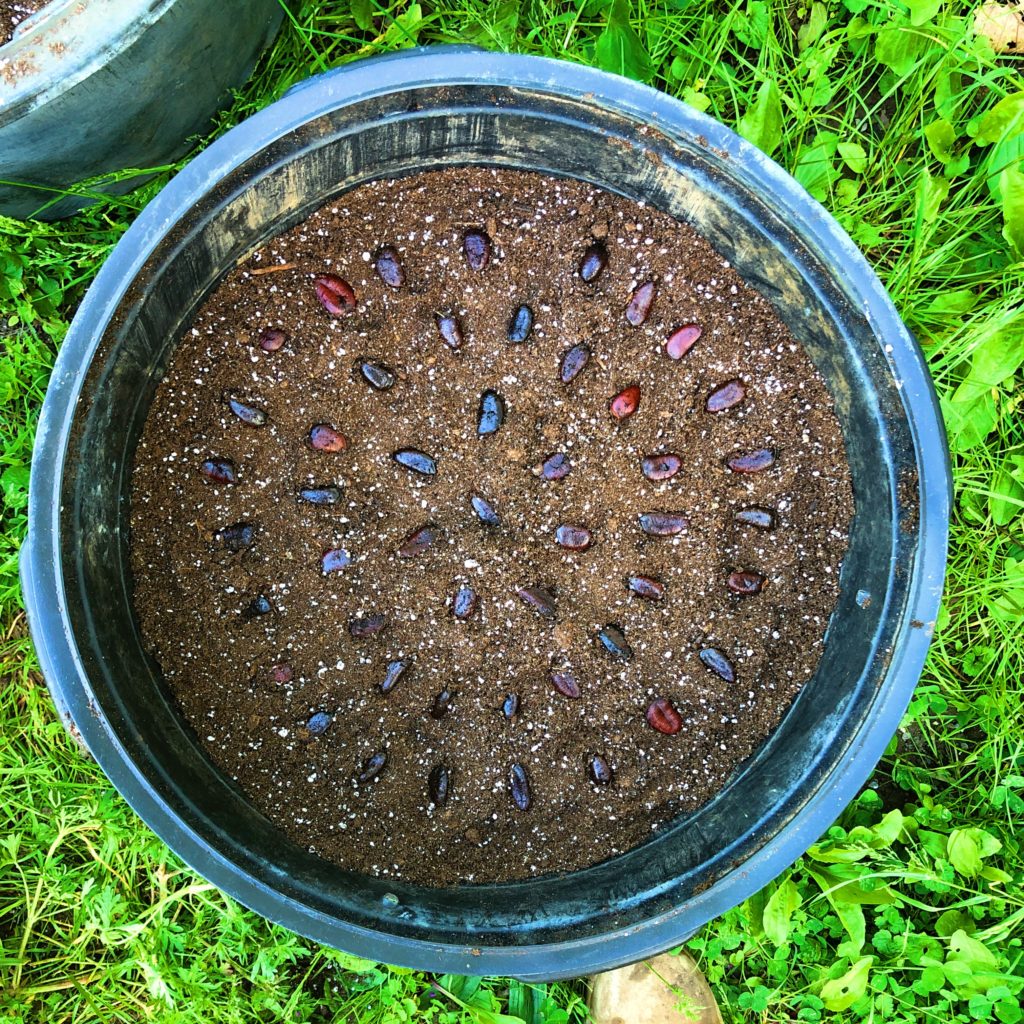
- Don’t let your seeds dry out – Whether you’re processing seed from foraged fruit, trading for seed from others or buying seed from any given source, it’s critical that you keep your seeds moist. Germination rates will drop significantly if pawpaw seeds are allowed to dry out for even a short period of time. Leave them in the fruit until you’re ready to process, put them in a ziploc with peat moss or a paper towel, or even in a cup before you’re ready to clean and stratify.
- Stratify your seeds – Pawpaws require a period of cold, moist stratification. Generally this is said to be 70-100 days between 34-40°. This can and does of course occur naturally outside, but with unpredictable winters and various other factors, it’s simply good practice to eliminate the variables and stratify them in your fridge. Do not let them freeze or dry out. After processing the wild fruit I forage for seed, I put my clean seed in ziploc bags (anywhere from quart to gallon-sized) and maintain moisture. This generally means my seeds are in the fridge anywhere from late-August to late-September until I pot them up outside to germinate in the spring (anywhere from mid-March to early May, depending on my availability, level of preparation and, of course, the weather). I’m not good at math, so I’m not sure how long that is, but it’s more than enough of a cold stratification period.
- Keep your seeds clean – This is a big “do as I say, not as I do” moment. It’s best practice to thoroughly clean your seed after processing, removing any and all pulp and seed sacks from the seeds before storing. My reality is that, since I am processing thousands and thousands of seeds alone by hand, this does not always happen as it should. I am often scrambling just to get through all of the fruit, and will bag them up to begin stratification after scooping them out. However, that can lead to mold growth and who knows what else, which can potentially impact the success rate of your germination. So try to get those seeds as clean as possible! I generally try to go back through my stored bags and clean the seeds better later, as some of the fermentation also helps to loosen the seeds sacks and makes them easier to clean. However, you can do BETTER than that! Ok? Keep those seeds clean! I will say, though, that I am very intentional about making sure the seeds are extremely clean prior to potting up. After noticing some of my seeds rotting after potting two years ago in particular (too much water, fluctuation in temperatures, etc.) I began giving my seeds a brief final soak in water with hydrogen peroxide prior to potting to try and ward off any fungal issues that might occur during the 2 month-long period of germination.
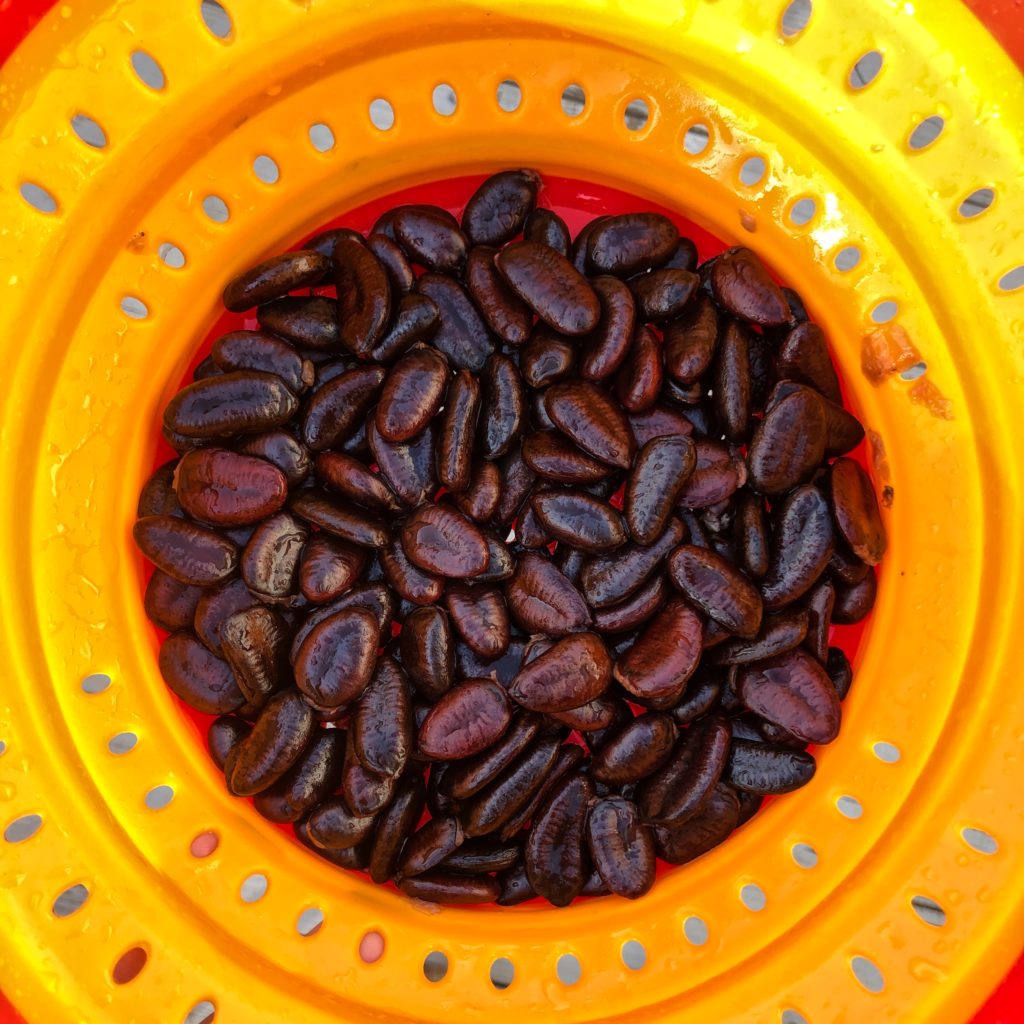
Although it can be tedious, it’s important to clean your pawpaw seed well by removing the seed sacks and any fruit pulp before storing for cold stratification and prior to potting.
- Give your seeds room to root – When potting your pawpaw seeds for germination, you need to take their taproot into account. Starting them in traditional seed-starting trays will not work well. Pawpaw taproots often grow to 12” (probably more, in some cases!) during their first season. Some folks germinate their seeds in bulk in more shallow trays and then transfer once signs of root emergence begin, but pawpaw taproots are extremely brittle so I would highly recommend eliminating any potential for damage and allowing your taproots plenty of room to grow. I’d recommend providing your seeds with at least 8-12” of soil depth to grow if possible.
-
- Note: I usually use 15 gal pots filled with around 12” of high-porosity potting soil to germinate larger groupings of seeds (anywhere from 20-40 per container). I do this for a variety of reasons, but mainly because that is what I have had to work with, I need to be able to transport large groups of seedlings in the bed of my truck across difficult terrain to many different sites where I plant my pawpaws at my farm in Western North Carolina, and they are easy to move if necessary. However, there are some pros and cons to this method:
-
-
- Pros – convenient for secure off-road transportation, easy to move and rearrange within limited space, easy for germinating large groups of seeds with fewer containers, don’t have to purchase thousands of expensive individual, deep taproot pots, virtually never have to water (let sit and neglect!)
- Cons – potential to stay far too wet if you can’t keep out of rain which can lead to issues with rotting seeds, greater up-front soil cost of potting
-
While there are some cons to consider with this method, historically I use 15 gal pots with 8-12″ of soil to germinate batches of pawpaw seed in bulk.
- Don’t try to germinate in heavy soils – Although not ideal, pawpaws can grow fine in heavier clay soils once established. However, the seeds do not tend to germinate well (if at all) if planted or buried in heavy clay soils – they will have a difficult time or be unable to push through during germination. For germination, use lighter mediums that are more porous. If planting seeds directly into the ground for germination, ensure that the soil is well-drained and higher in organic material. Sandy soil works fine, too as long as it does not dry out during germination.
- Be patient – Pawpaws can take about 2 months to show signs of germination above ground. They don’t send up a cotyledon like many species, but rather appear as an almost earthworm-colored loop or hook emerging from the soil (on occasion, they may appear to be a whitish color). Although you won’t see signs of life aboveground for almost two months (sometimes sooner, sometimes later), they are growing their taproot down first. In that same vein, patience is required as it pertains to fruiting, too. It can take as much as 8 years for a pawpaw grown from seed to fruit.
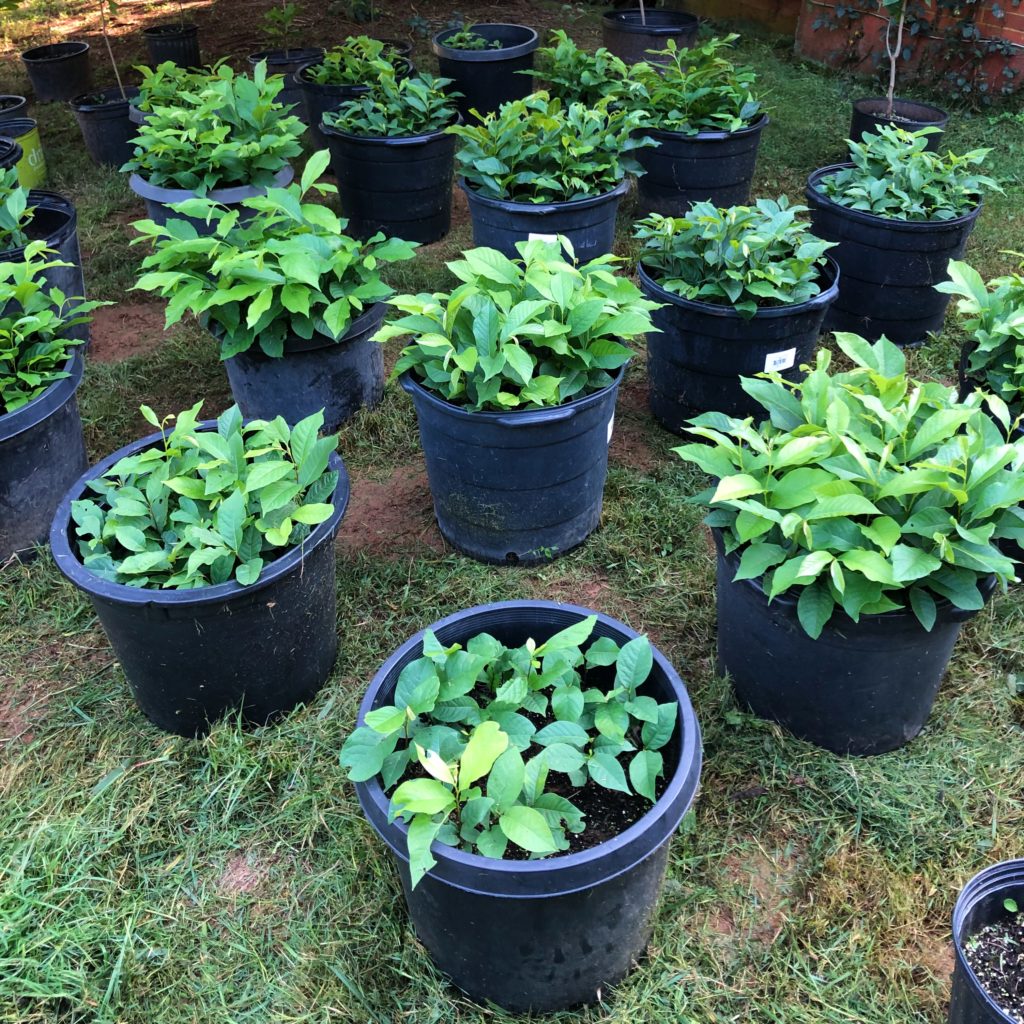
It can take about 2 months to see signs of germination above the soil, but once pawpaw seeds sprout they grow quite rapidly!
- Protect your seedlings from full sun – Pawpaw seedlings can be a bit sensitive to sun, especially in their first season. I typically place my containers of potted seeds in areas with full sun until I see signs of germination to assist with temperature and moisture elimination. Once they begin to sprout, I either move the containers to areas that have protection from the harsh afternoon sun or create artificial shade structures. However, I do try to expose my seedlings to as much sun as they can take in their first season under the theory that they will acclimate and be better-suited to plant in areas with full sun for fruiting purposes in their second season or beyond (however, I can’t say if this truly makes a difference from a scientific standpoint).
- Note: Although pawpaws are an understory tree and well-adapted to shady conditions, they grow and fruit best in sunnier conditions. I have found that established pawpaws planted in 3/4 sun perform best. It is ideal that they receive full sun from morning until mid-afternoon. However, if they can be shielded from the harshest of the afternoon sun, that is ideal. The more sun they get, the more moisture they will need to perform well. Composting and mulching heavily around the base of your planted trees to retain moisture will help with this (*at the drip line, especially – be sure to avoid ‘volcano mulching’ or girdling your trees by mulching right up to the base. We always want to encourage tree roots to grow down and out). My experience growing pawpaws has been in zones 6b-8b, so I cannot speak to specific conditions outside of this range.
- Keep your seedlings watered well – Although it is important to try and control moisture earlier in the season while you are waiting for germination in order to avoid any seeds rotting, once germinated it is important to ensure that your seedlings have ample moisture. The soil medium you use for potting will inform how often or not you water. Potting mixes high in peat will retain a significant amount of moisture, sometimes too much. I would recommend a high-porosity medium. Historically I have purchased compressed bales of Lambert all-purpose or standard Promix mediums. However, more recently I have switched to Promix HP (high porosity) in an attempt to create better drainage and to retain less moisture. I also try to keep my containers off the ground on pallets or other raised platforms to encourage drainage and air-flow.
- Note: Peat is not a sustainable medium, and I am personally concerned with the harvest of peat and how it impacts our environment and climate. As I continue to scale my propagation of pawpaws and other species, and as I work to get more organized with my growing activities and budgeting, I intend to shift away from peat-based mediums. A wonderful regional soil company I would love to support and source from is Dirtcraft Organics based in Marshall, NC. They have a variety of handcrafted soil mixes that are peat-free or that contain less peat than conventional potting and seed-starting mediums. Hopefully next season I can plan accordingly and order bulk soil from them for my needs!
Despite what many people seem to say, pawpaws are actually quite easy to grow from seed. They’re one of the easiest, least-finicky things that I grow and ideal for the backyard hobbyist. In an ideal world I would have a more controlled environment such as a greenhouse that would enable me to standardize the temperature, moisture and other factors to facilitate a smoother, more efficient process…but alas! I’m a big believer in doing the best you can with what you have. And, ultimately, both seeds and plants are unbelievably resilient. So why not give it a shot and enjoy the experience and observation along the way?
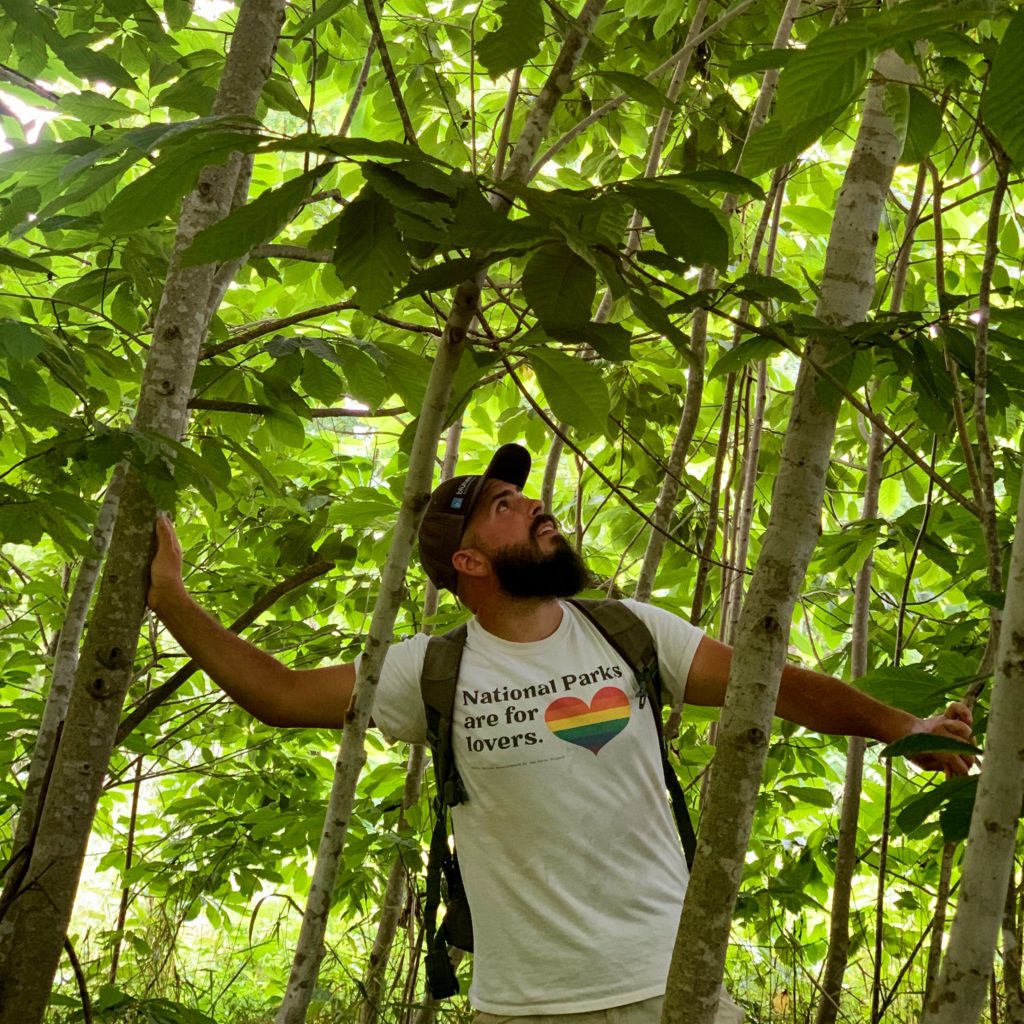
While pawpaws may be prized for their fruit, they certainly shouldn’t be overlooked for their ornamental value as a landscape tree. As a specimen tree, their beautiful pyramidal form and large, tropical-looking leaves that turn bright yellow in fall add aesthetic appeal to any landscape. Combine that with the fact that they’re largely pest and disease-free, and this medium-sized tree is a winner for yards of all shapes and sizes.
If your main goal is fruit, though, it’s best to plant at least two seedlings or two distinct grafted cultivars within 10’ or so. I’d recommend planting a third or more if you have the space. Technically pawpaws are monoecious, which means that in theory they could be self-fertile as a result of having both male and female flowers, but due to the manner in which they flower and a variety of other factors, you will almost always need more than one tree for successful pollination. Because pawpaws are pollinated by carrion insects like flies and beetles (not bees), it can be helpful to add ample compost or fish emulsion (or even roadkill…) during flowering. Hand-pollination is an even better way to ensure successful fruit-set, particularly while you are building up your pawpaw-supported ecosystem.
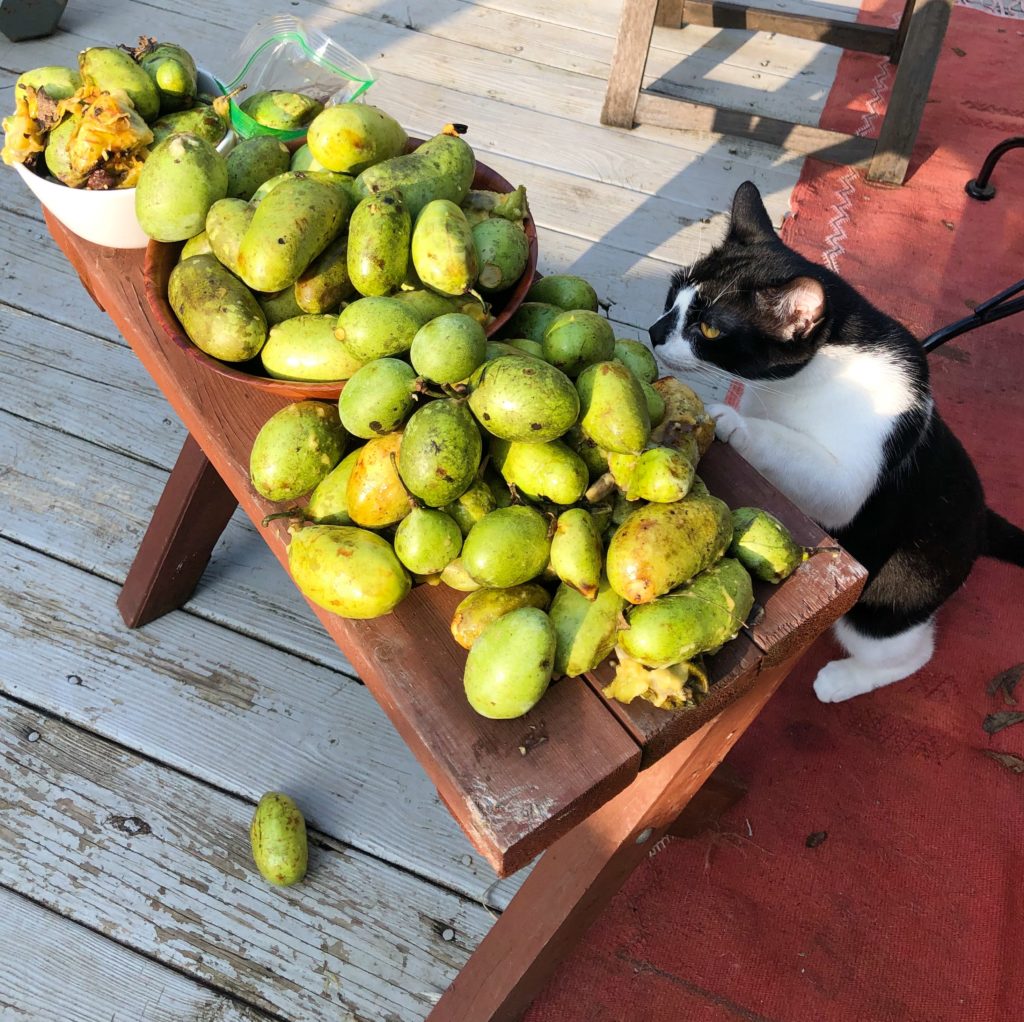
My cat, Kilo, helps inspect the pawpaw fruit I forage for seed.
Have questions or want to learn more? Feel free to shoot us an email at hello@shadesofgreenpermaculture.com or reach out to Whit on Instagram at @whitwhitmire!


