


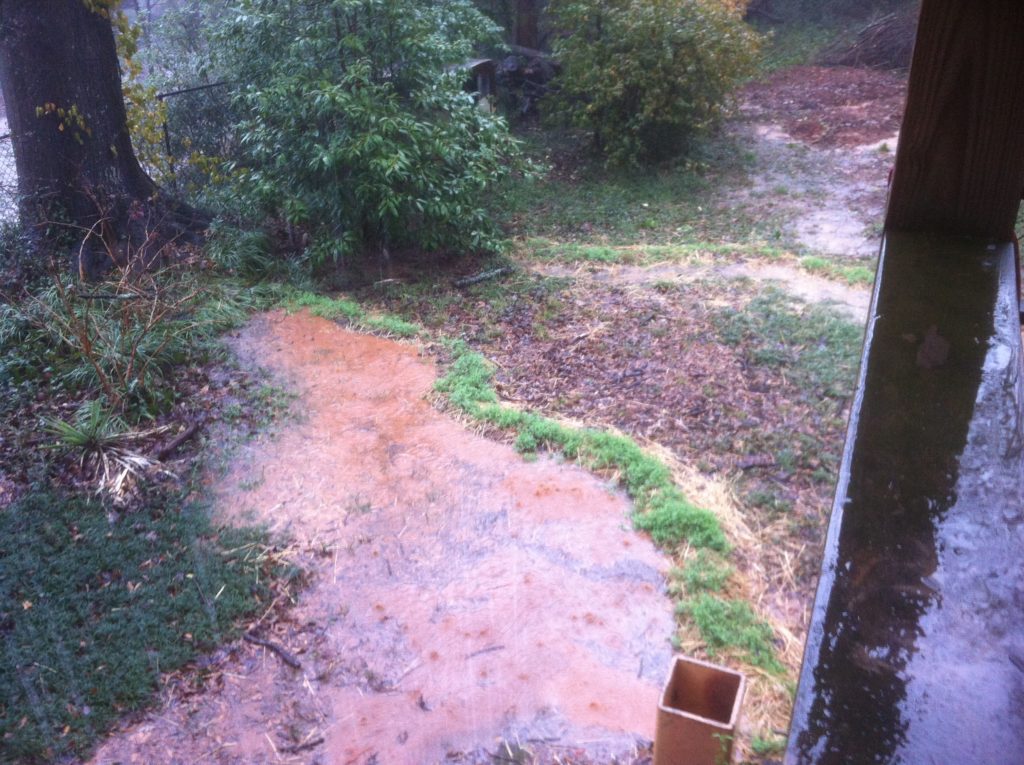
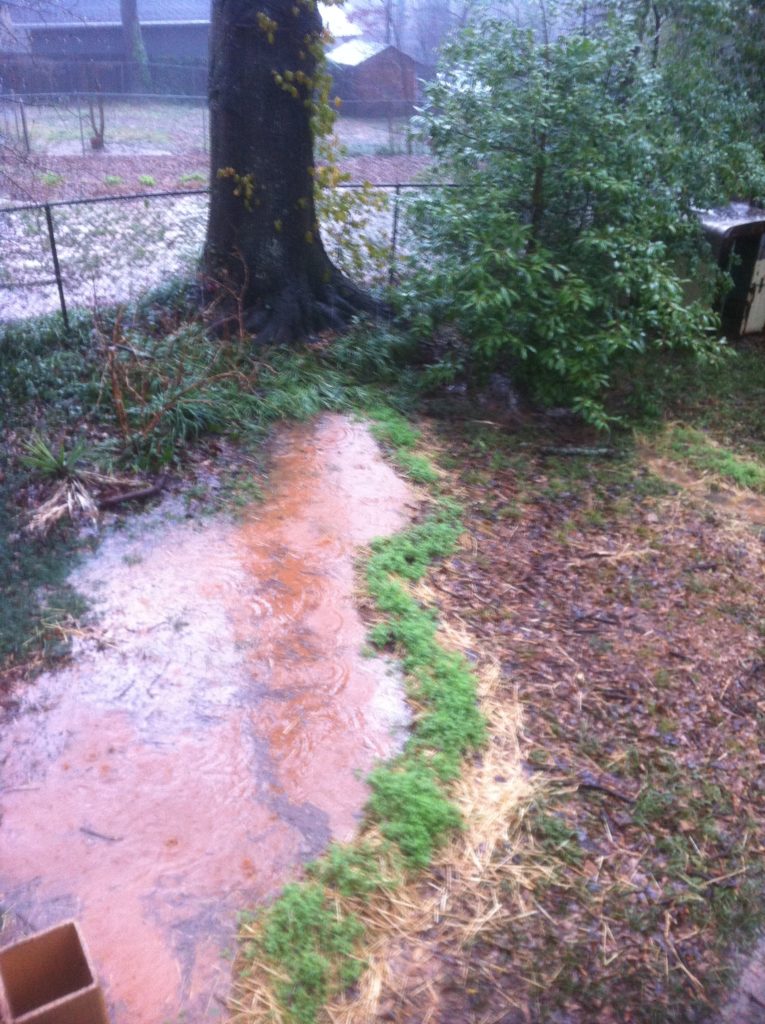
Since we’ve been talking about water a lot lately, especially with all this rain, I wanted to do a deep dive and share the top three techniques we use to work with overland water and some basic strategies to consider when working on your site.
When it comes to managing water on your site, the first step is to always OBSERVE. Before you can know what to do, you need to know more-or-less what’s going on. If you need a little guidance on what to look for, grab our free guide, How to Read Your Site Through a Permaculture Lens.
To begin, you’ll need to identify your goal. Is it to get the water to go to another part of the yard? Or perhaps, you’re trying to slow it down so it can sink into the soil? Once you know what you’re trying to do, you’ll be able to implement one of the following techniques.
TECHNIQUE 1: CONTOUR SWALES
In permaculture courses everywhere, students learn that contour swales are the best thing you can do to manage water. While they are a great tool, it is crucial to know when to use them. Understanding what you are trying to accomplish will help you decide if a contour swale is the best tool for the job.
What is a contour swale?
A contour swale (often referred to simply ‘swale’ in permaculture) is a ditch with a berm that runs along the landscape’s contour. Each point along that line is the same elevation, and the line runs perpendicular to the slope. If you’ve ever seen a topographic map, the lines represent contours.
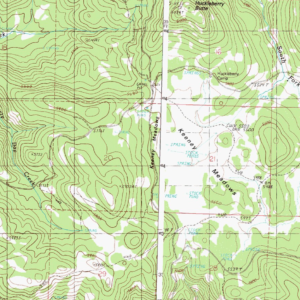
Topographic map example
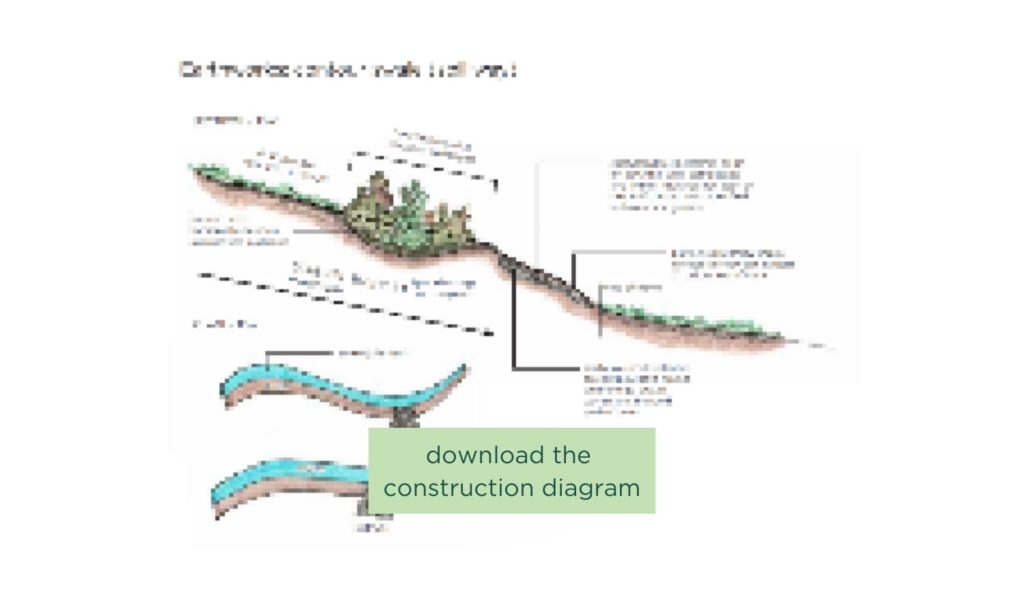
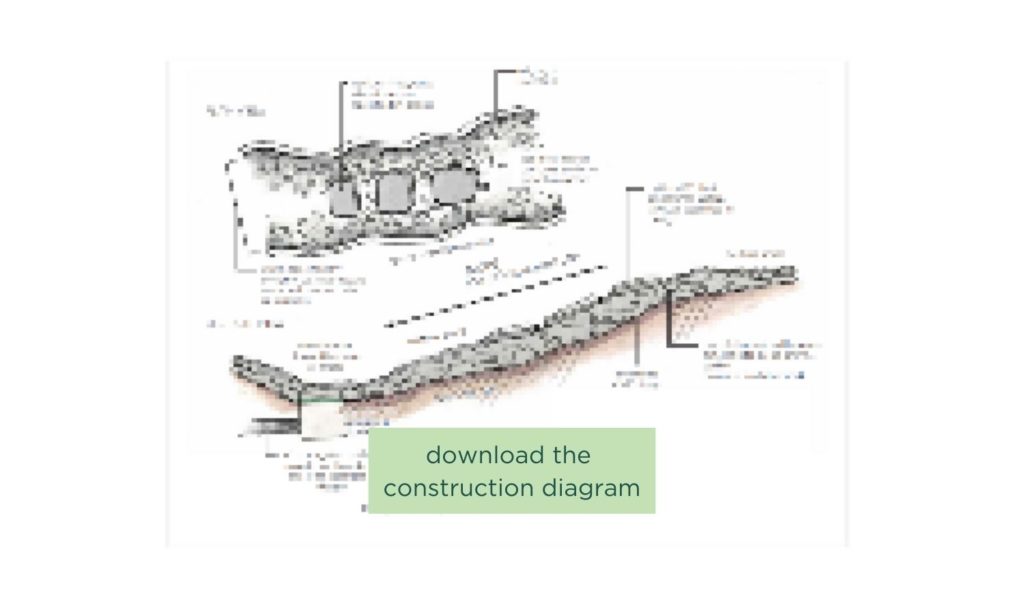
The ditch is on the uphill side, and the berm is on the downhill side. You can construct these either with spillways by crafting a reinforced low spot in the berm or plumbing them together. Click below to download a construction diagram showing exactly how to do this:
What do contour swales accomplish?
A contour swale’s primary function is to slow down overland water and let it sink into the soil. Water rushes down a hill and begins filling the ditch horizontally until the whole ditch is full, and at that point, the water either sheet flows over the berm, is directed through a spillway, or is harnessed in a pipe and sent down the line.
Contour swales are a very effective tool for mitigating erosion and spreading water evenly across a site. They are also an excellent tool for passively irrigating a large planting area, such as an orchard.

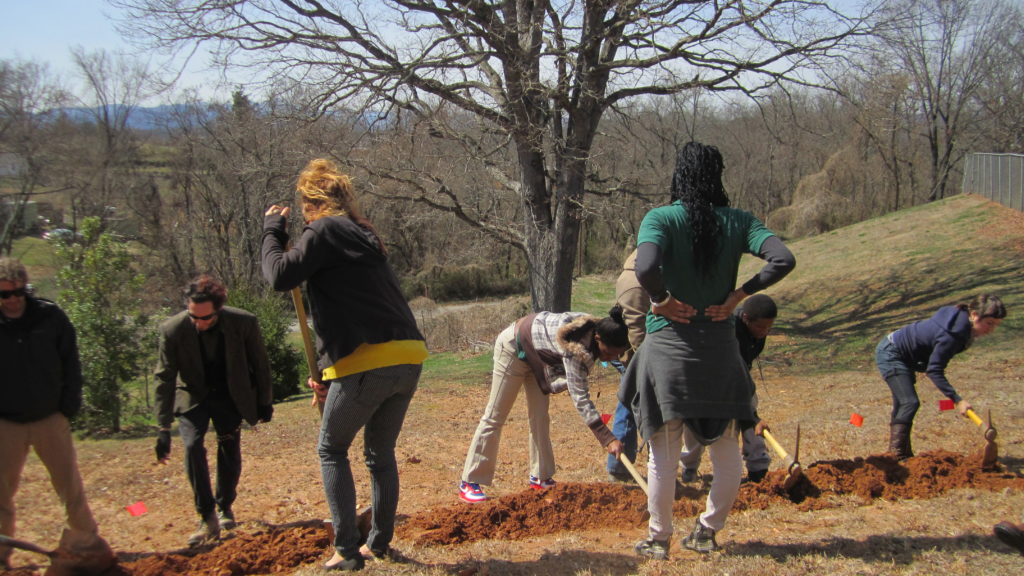
A student using a homemade A-frame level to mark a contour line Photo credit Lauren Ladov
When should you not use a contour swale?
Contour swales are not the tool you want to choose when the issue you are facing is too much water and oversaturation on your site. They are also best used on slopes that are 3:1 or less because that keeps your berm from getting too steep, causing further erosion. Contour swales can also be less effective if your site has many elements, and you do not have a continuous area where you can build them. Because of how they organically undulate through the landscape, you will need to consider your access and paths carefully throughout the site.
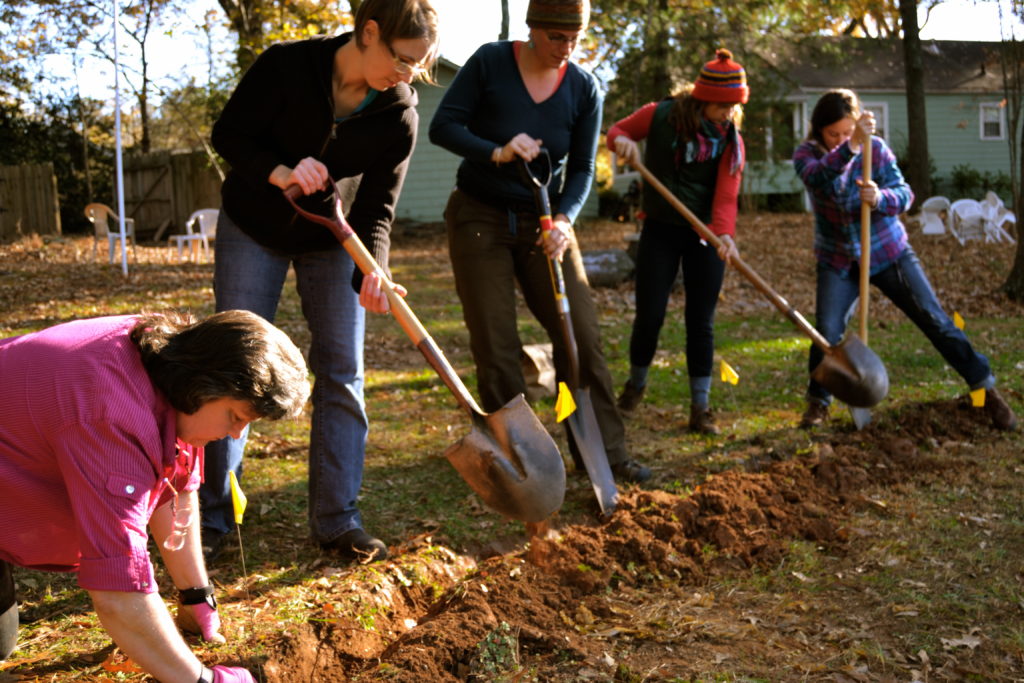
Students digging a contour swale and building the berm with the excavated soil
Students digging a contour swale Photo credit Lauren Ladov
Swale slowing the rain water. Berm is seeded.
Swale holds water for less than 12 hours, so not an issue for mosquitos.
TECHNIQUE 2: DIVERSION SWALES
Water is a blessing, and we strive to keep as much as possible on site (upward of 5″ of rain at a time). The question, though, is when enough is enough. Sometimes the issue at hand is too much water in the wrong place. If that is the case, you may want to consider using a diversion swale.
What is a diversion swale?
When water is coming down the hill in a big rain, the conventional thinking is to manage it once it’s at the bottom, whether through French drains, sump pumps, or otherwise. Let’s challenge that convention, though. I can’t even tell you how many clients we’ve worked with that have drainage issues, and of those, how many have had work done that sent the water straight to the low spot, only to have to pump it out or manage it once they no longer have gravity on their side. Unfortunately, it is not uncommon for that low spot to be at the foundation or crawl space, ending up flooding and causing a huge (and often costly!) headache.
A diversion swale, on the other hand, conveys the water to another area of your landscape. Much like a contour swale, the diversion swale is a ditch with a berm on the downhill side. Unlike a contour swale, however, diversion swales are slightly off contour, which gives the water a channel to flow down the hill with only 1-3% drop, rather than flowing straight down the hill, perpendicular to the slope, which can cause erosion and channeling. Click below to download a construction diagram showing exactly how to do this:
Earthworks: diversion swale (with stone)
Diversion swales can be either stone-lined (as above) or vegetated with plants that have deep roots and can take both drought and flood conditions, such as muhly grass (Muhlenbergia capillaris). When you get the water as far as it needs to go, you can pipe the water or let it infiltrate using technique #3, a rain garden.
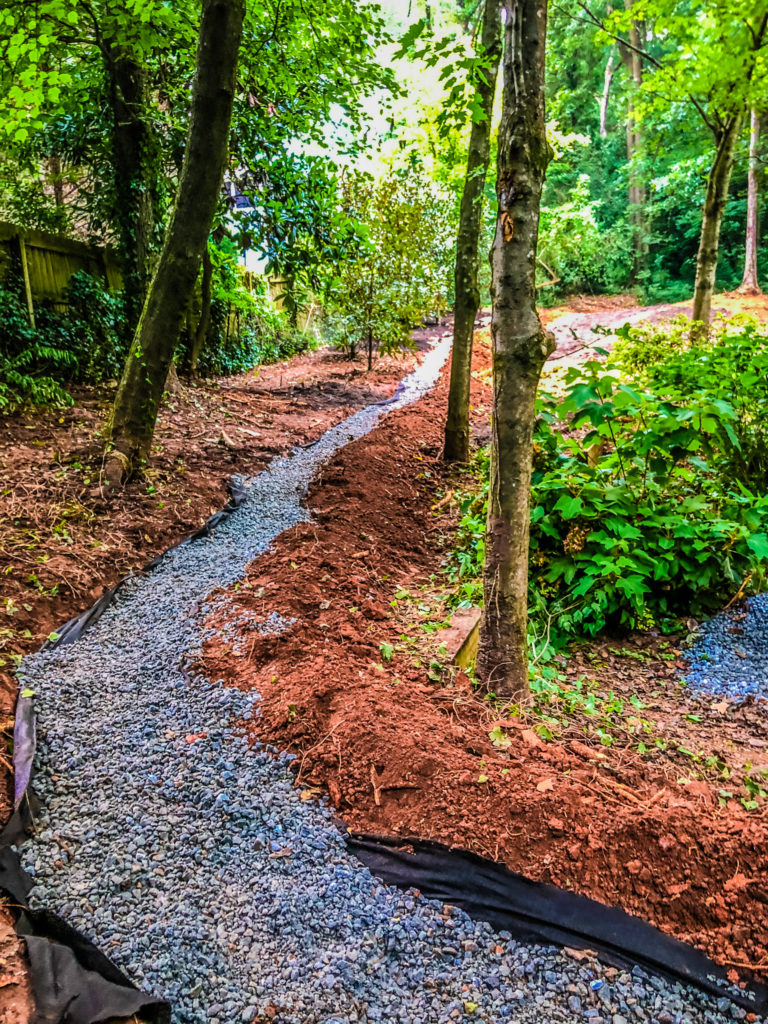
Diversion swale under construction
What does a diversion swale accomplish?
Diversion swales take water that would otherwise be flowing straight downhill to the low spot and direct it to another area of the yard while slowing it slightly so some water can infiltrate. You can find a video exploring diversion swales here if you want to see them in action.
When should you not use a diversion swale?
Diversion swales are not particularly useful if your goal is to spread the water across an area evenly. Because they convey the water, you want to make sure you have a good sense of how much water you’re dealing with and how you intend to manage it once you get it to its final destination. This is where the final technique comes in.
TECHNIQUE 3: RAINGARDENS
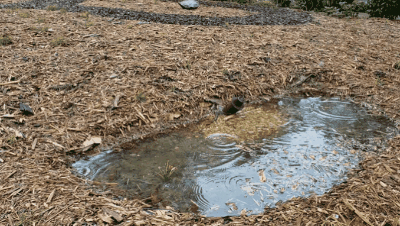
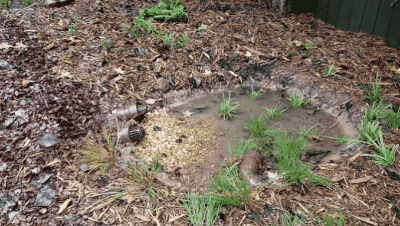
What is a rain garden?
A rain garden is a depression in the earth that collects rainwater and allows it to sink into the soil. They are often used in green infrastructure projects under the name “bioretention area.” They differ from ponds in that they do not hold water continuously, but instead drain entirely after rain events. There are a few ways to construct rain gardens, but typically they include a sub base such as gravel, an engineered soil medium (roughly 50% sand/50% planting mix), and a specified ponding depth. Each of these strata has a certain percentage of void space, and adjusting the depths changes how much water the rain garden can hold. Click below to download a construction diagram showing exactly how to do this:
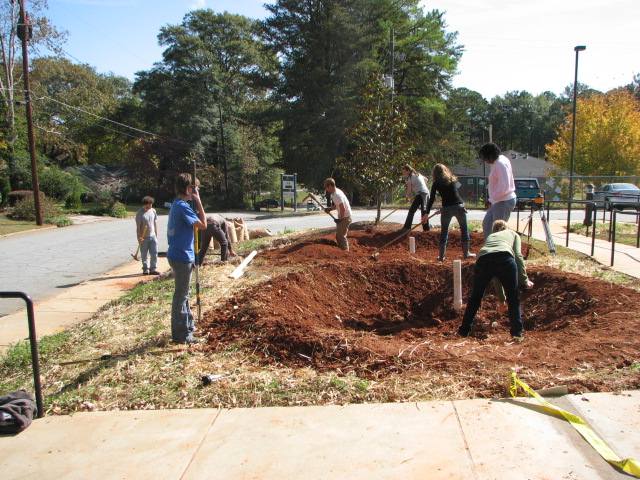
Rain gardens under construction at the Clarkston Community Center
What does a raingarden accomplish?
Raingardens are very effective at strategically infiltrating water in specific areas of your yard. They can be fed by overland water, such as being the recipient of the water conveyed in a diversion swale, or they can be fed by water coming from your roof via plumbed downspouts. Raingardens are great because you can measure the volume of water you are infiltrating easily, and you can work them around your landscape without disrupting the flow of other elements, such as play areas, paths, and more.
When should you not use a rain garden?
Because of the volume of water a rain garden can hold, they should be sited well away from the foundation of your house. We site them at least 15′ away, and further, the larger they are. It would help if you also were careful not to site rain gardens too close to trees’ critical root zones.
As you can see, several earthwork techniques allow you to work with water wisely in your landscape. Knowing the issue you are trying to solve and the end goal you are trying to accomplish will help you determine which technique, or combination of strategies, is the right choice for your site.
If you want to know more about stewardship practices that build resilience in your yard, I have a FREE masterclass⏤ The 3 Pillars of a Regenerative Landscape⏤coming up soon. You can register here if you’d like to join to learn simple solutions we can easily implement in our yards to make a positive impact, including techniques for working with water (you only need a shovel!), how to build soil without the need for fertilizers or costly inputs, and how to choose plants that work together to support the ecology of your land (and feed you, too!).


